



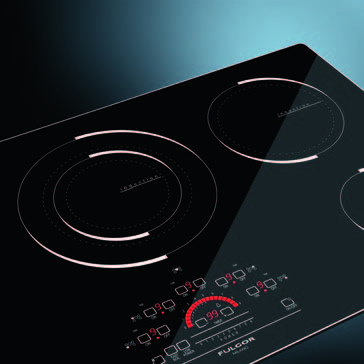
The touch controls work using optical light sensing technology.
When first connecting electrically or after a power failure, any direct strong light over the sensor area may affect the touch control functionality.
When powering on the unit make sure that no strong light is shining direct over the touch control zone, it can compromise the start-up sensor calibration resulting in an unresponsive touch control.
Yes.
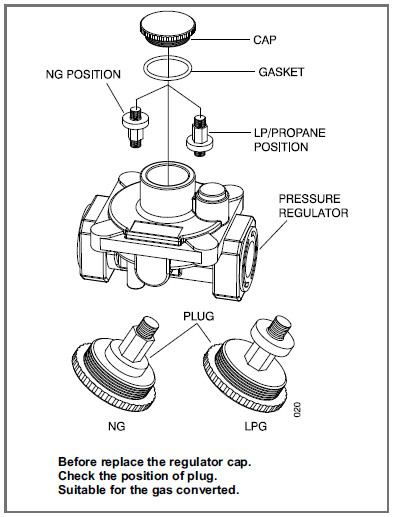
Although all gas cooktops ship configured for use with natural gas, they include a set of injectors which are used to convert the cooktop for propane use. The gas flow regulator which comes with the cooktop also requires adjustment as part of the conversion process.
Please refer to the installation instructions included with the appliance for full step-by-step descriptions to complete the conversion. The BTU ratings of the cooktop will remain consistent regardless of the fuel being used.
Yes.
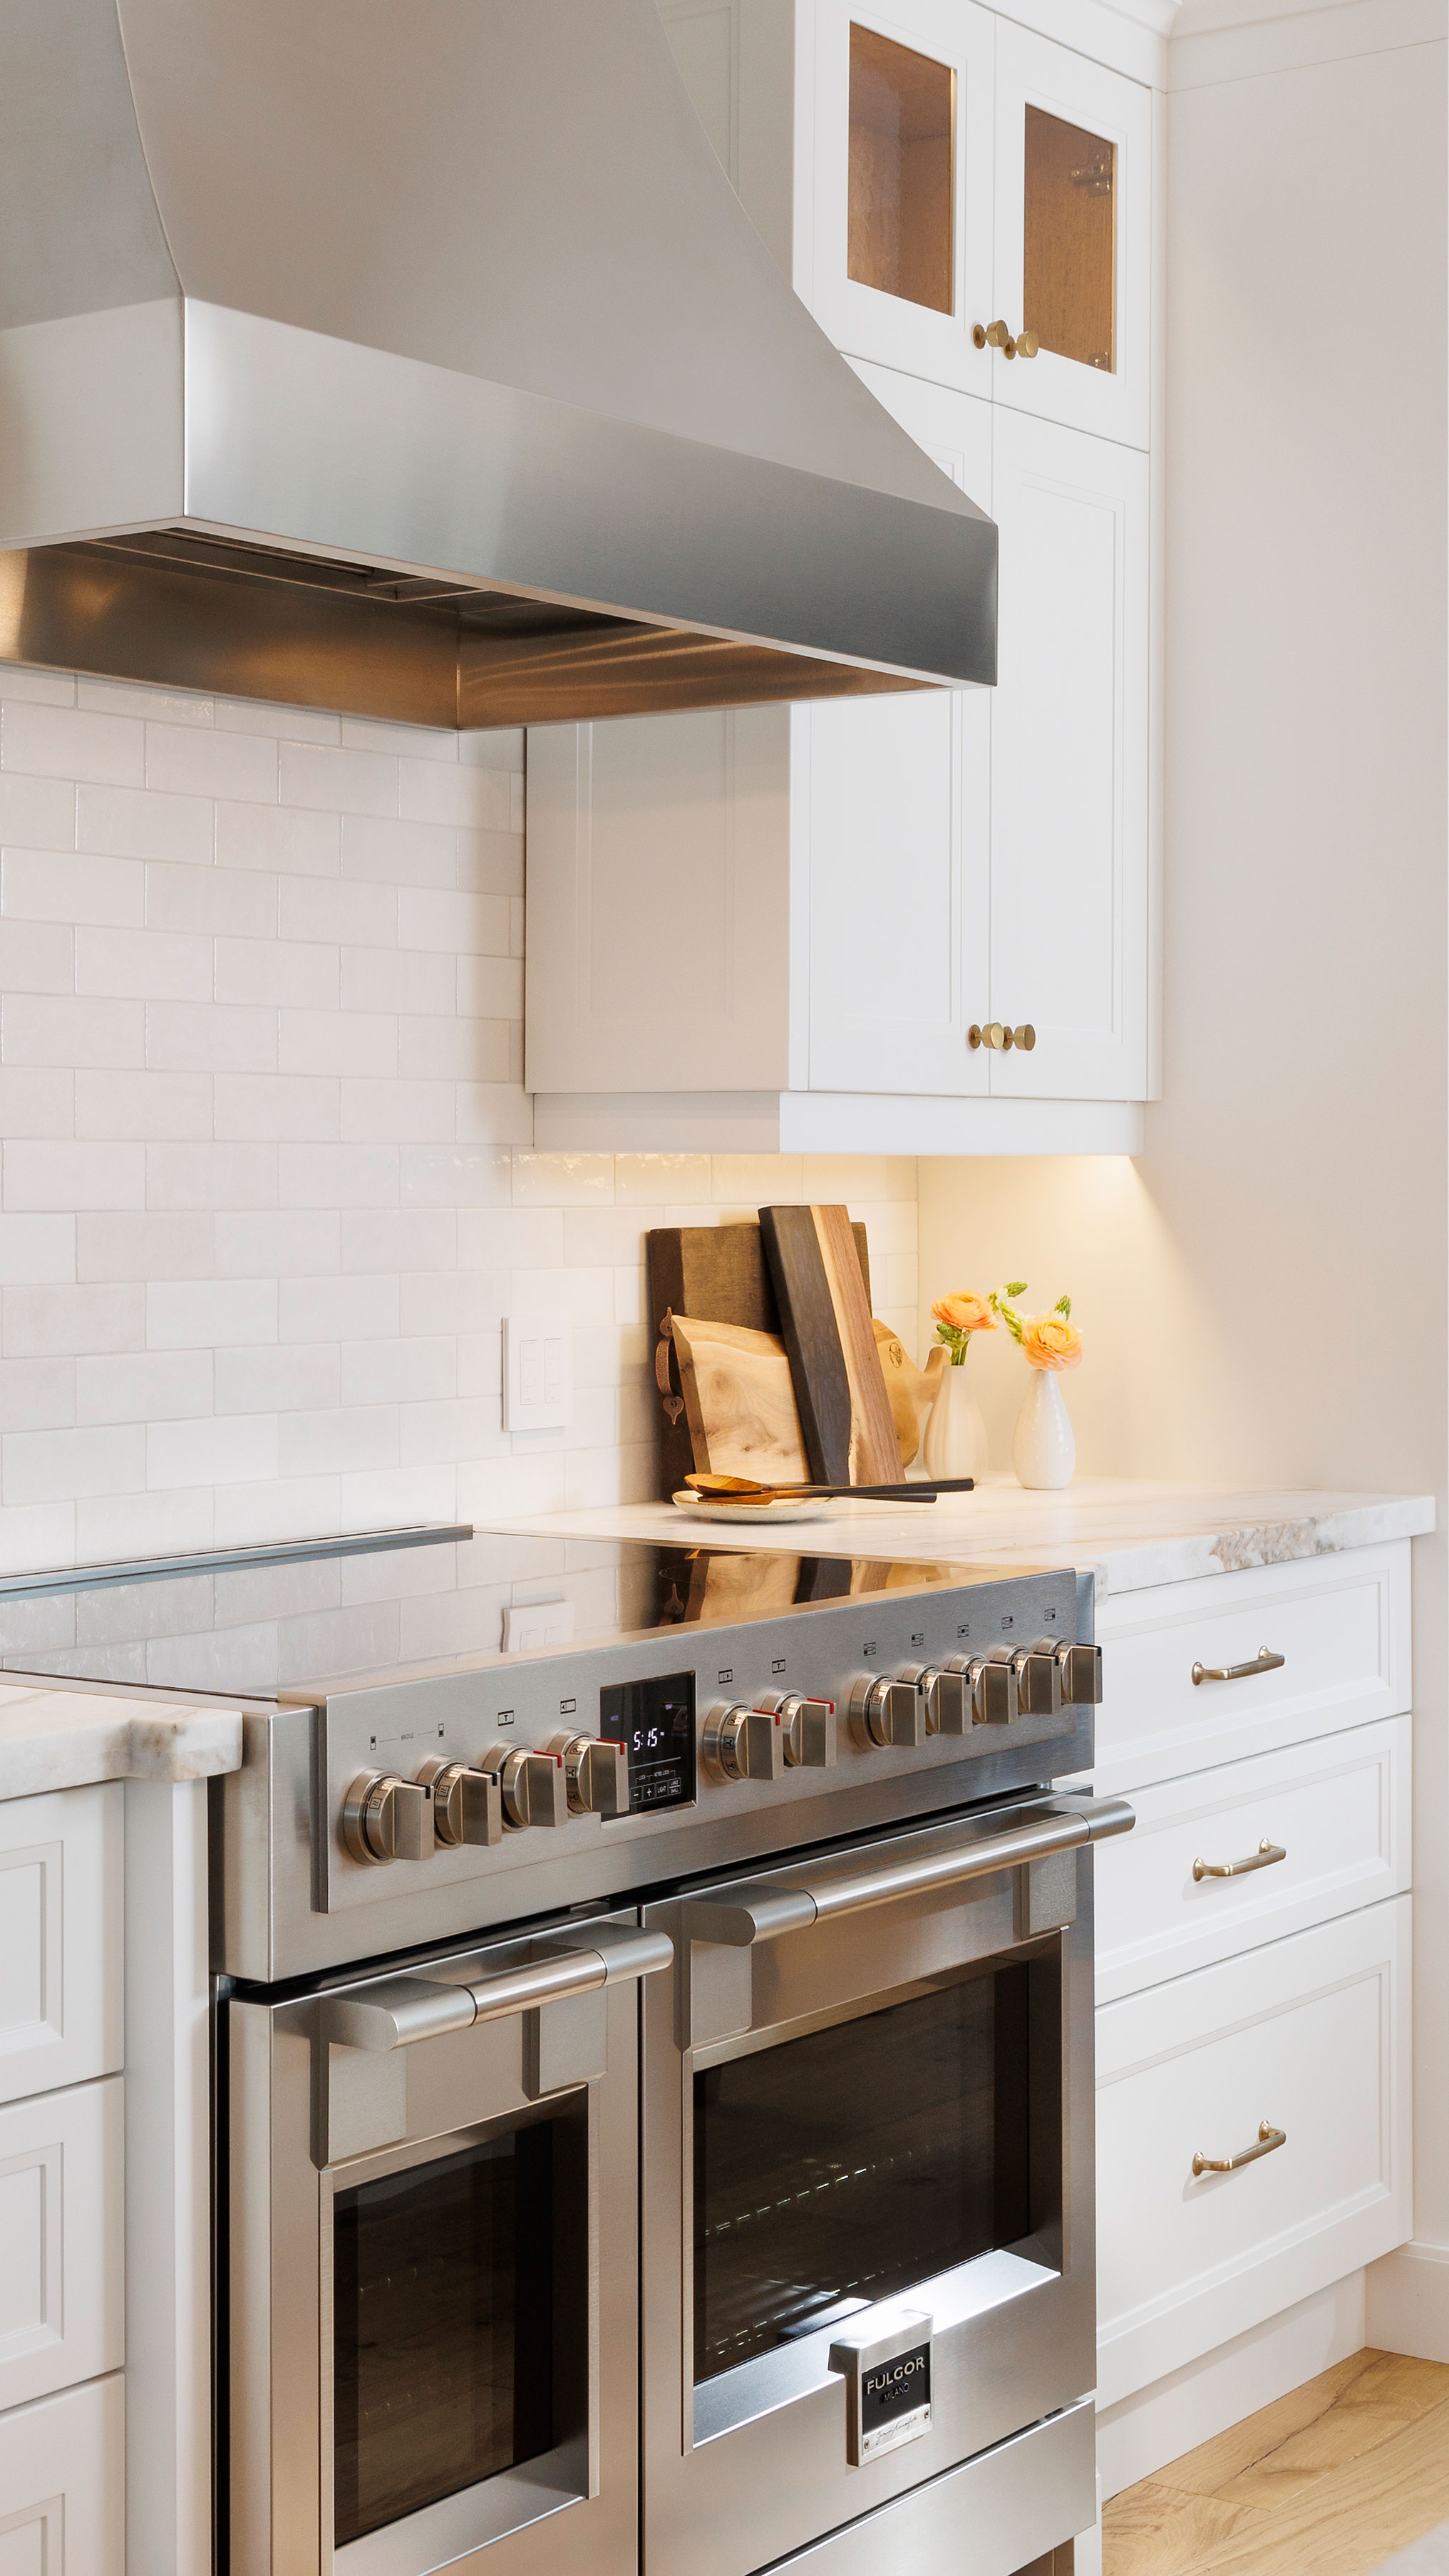
All Fulgor Milano gas cooktops have been tested for safety being installed above the Fulgor Milano built-in ovens. This includes self-clean oven models.
The manual clean ovens have an electronic display which provides timer and semi-automatic timed cooking functions.
When the cooking mode is selected and the temperature is selected the oven will begin to heat up which will be indicated by an amber lamp on the display. When the oven has reached the set temperature the indicator lamp will turn off. Subsequently the lamp will go on and off throughout the cooking session indicating when the elements are being energized or not.
To light the oven burner, press the thermostat knob all the way in for about three seconds (you should hear the spark module begin to make a snapping sound). Immediately rotate the knob counter-clockwise to the maximum temperature setting.
You will feel a small stop as you begin rotation, back the knob out slightly to rotate past this stop. Once the spark module starts it will continue sparking automatically for about 7 to 9 seconds even after you release the knob - this is normal and ensures that the sparker is still active when gas begins to flow and does not mean that the burner is not lit. You may hear a whoosh sound as the flame ignites around the burner. You should be able to see some flame through the holes in the floor of the oven cavity. Leave the temperature setting at maximum for about 30 seconds then adjust down to your desired temperature setting.
In case the burner is not lit, return the knob to the 'OFF' position and repeat the above gas burner ignition procedure. This may be necessary if it is the first attempt to light the bake burner after several hours of not being used.
Ignition of the Broiler is the same procedure except the knob is to be turned clockwise to the Broil position.
Push knob in to start the sparker, rotate to maximum for bake or to broil and then adjust to desired temperature after 30 seconds.
A gas smell may be detected in cases where the burner did not ignite - this is normal and not indicative of continued gas flow, a small amount would have been released during the lighting sequence. The ovens are equipped with safety thermocouples which close the valve and shut off the flow of gas if a flame is not detected. This is why the knob needs to be returned to the 'OFF' position to allow for it to be pressed in to restart the sparker and re-open gas valve in the case of multiple ignition attempts.
The griddle on the 48" range takes up the space of two burners and utilizes a tube gas burner capable of 4200 BTU's (1250 watts) up to 12500 BTU's (3600 watts).
During 'Fast' preheat on Fulgor Milano ovens, the convection fans, convection elements and auxiliary broil element are energized regardless of what cooking mode has been selected. Once the preheated temperature has been reached the fans will continue to run for an additional 5 minutes as the oven transitions to the chosen cooking mode. This is normal and ensures that there is a smooth transition from the fast preheat source elements to the elements chosen for the actual cooking session.

Not all cooking modes can utilized the meat probe. If you plug in the probe on a mode that cannot utilize it, you will get an F13 error code or similar message. Remove the probe, turn the cooking mode to off and then back to that cooking mode to clear the error and start over without the probe or choose a different cooking mode that can utilize the probe.
When you choose a cooking mode that can use the probe, you want to preheat the oven first before plugging in the probe. Every cooking mode has it’s own pre-set default temperature setting, you can leave it there or you can choose whatever temperature you desire using the temperature adjustment knob on the right. The way the probe works is it will turn off the oven once the desired internal temperature setpoint has be achieved. (FYI – in your manual there are instructions to configure the range to always remember your last used temperature for each cooking mode rather than using the factory default setting)
Thus – if you have the probe plugged in to the oven when you’re trying to preheat, it will shut the oven off before it even preheats.
Both the 30" and 36" versions of the Sofia pro ranges have been tested, to their extended position, holding up to 15kg (33lbs).
On the Sofia and pro gas cooktops, each burner has it's own spark generator. On the 400 series cooktops, the burners share a common spark generator.
Regardless, constant sparking often indicates a reversal of polarity in the power supply outlet / socket the product is hardwired or plugged into. Check the wiring to ensure that hot and neutral wires are not reversed. A quick test can be to plug into an extension cord running to a different outlet (assuming it is also not reversed polarity). Polarity / ground fault testers for outlets are readily available from typical hardware stores.
Do an online search for which will be the ideal product to descale this appliance.
EcoDecalkThe wiring in the armored power conduits, or 'whips' as they are sometimes referred to, is composed of tinned (tin coated) copper which provides the superior conductivity of copper with the corrosion resistance of tin.


